Advertisement
How often do you find yourself washing laundry? If you have kids at home, chances are you’re constantly washing clothes, trying to get stains out of just about everything you own.
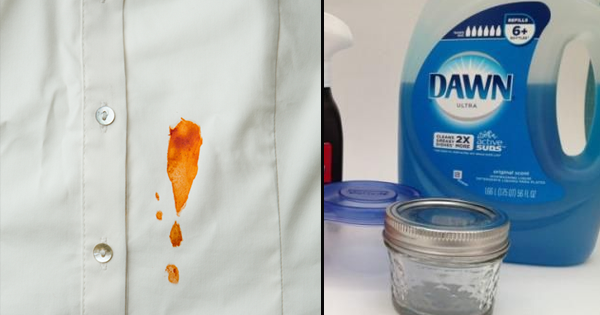
A dab of stain remover here and there really does make a difference when you’ve spilled coffee on your favorite white blouse, or your kids decided it would be tons of fun to play outside after it’s just rained.
But seriously, have you seen how much those spot stain removers cost? You need a small fortune just to keep up with the prices!
The good news is there’s a far more affordable way to remove even the peskiest stains from all your favorite outfits.
Instead of buying one of those stain removing pens at the store, you can easily make your own formula with ingredients you definitely already have around the house.

Here’s everything you’ll need to create a simple DIY stain remover:
- Baking Soda
- Dish Soap
- Hydrogen Peroxide
- One Glass Jar

Now that you have your supplies on hand, let’s get started:
- Combine two parts hydrogen peroxide with one part dish soap in your glass jar.
- Add 1 to 2 tablespoons of baking soda into the solution and gently mix until it turns into a paste. Feel free to add more baking soda or hydrogen peroxide, depending on whether your mixture looks too runny or thick.
- Pour a fair amount of the remover on a stain and rub in the mixture, preferably with an old (but clean!) toothbrush.
- Make sure to massage the remover into both sides of the stain, especially if it looks like the spot has bled through.
- Give the solution about an hour or so to set into the stain—longer if it’s a particularly tough stain.
- Wash the garment as you normally would, but make sure that the stain is totally gone before throwing the item into the dryer.
- Store any stain remover you have left in an airtight container and make sure it’s kept in a cool, dark place.


